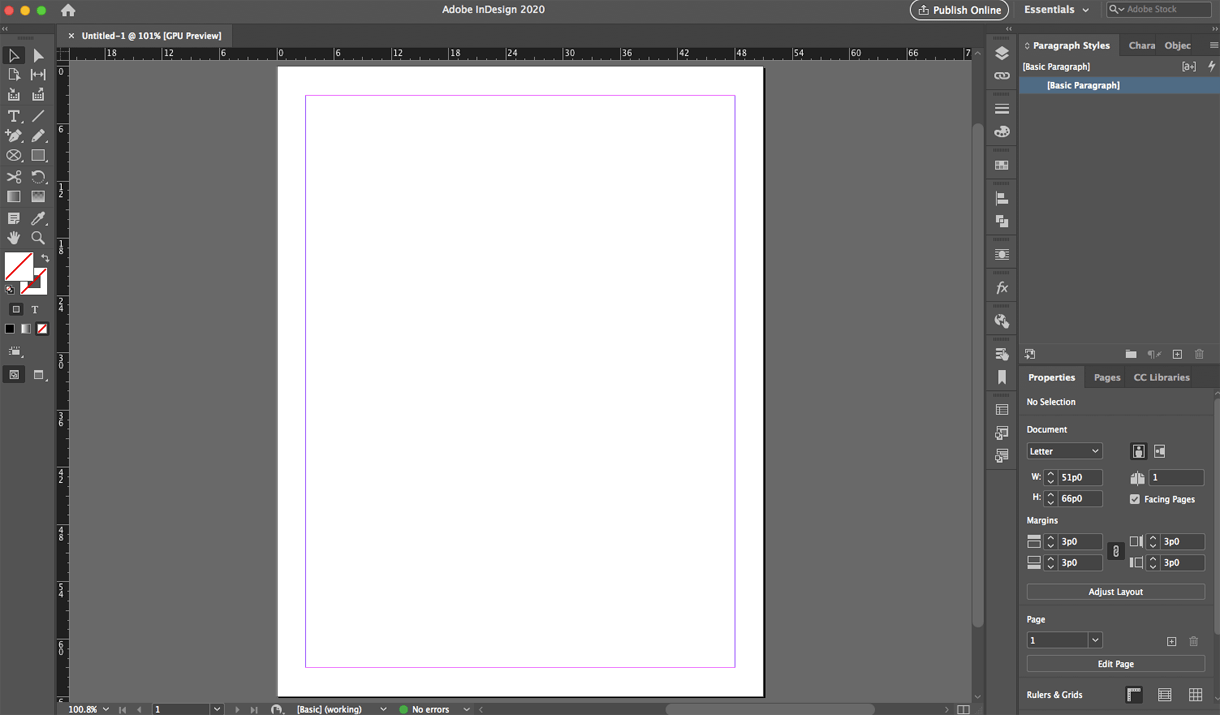
Design reminds me a little of writing papers when I was in school. I open a new Sketch/Illustrator/InDesign document, and stare at the blank white screen, thinking, “Well, now what?” It reminds me of when I open a blank Word document to start writing, and have no idea where to start. For me, design feels exactly the same at first.
Starting a design is one of the hardest parts of the process for me. Once I get started, the ideas begin flowing, and I can barely stop. BUT getting to that point is the real problem. So, I thought I’d share my process for starting on that scary blank white screen.
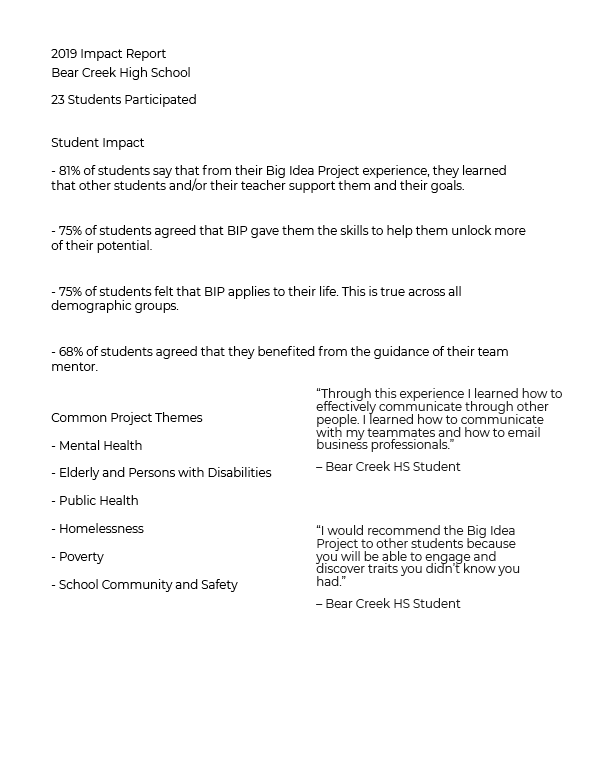
#1: Start with the content
Usually, when I start a design, I have at least some of the content required. I start with just pasting all that content in little chunks all over the page. This at least makes the blank white page less blank, right? I pay absolutely no attention to how the design looks at this point. Everything pasted in is the same font, size, color – everything. It basically ends up looking like a funky word document with no alignment. At the end of this step, the page looks like this:
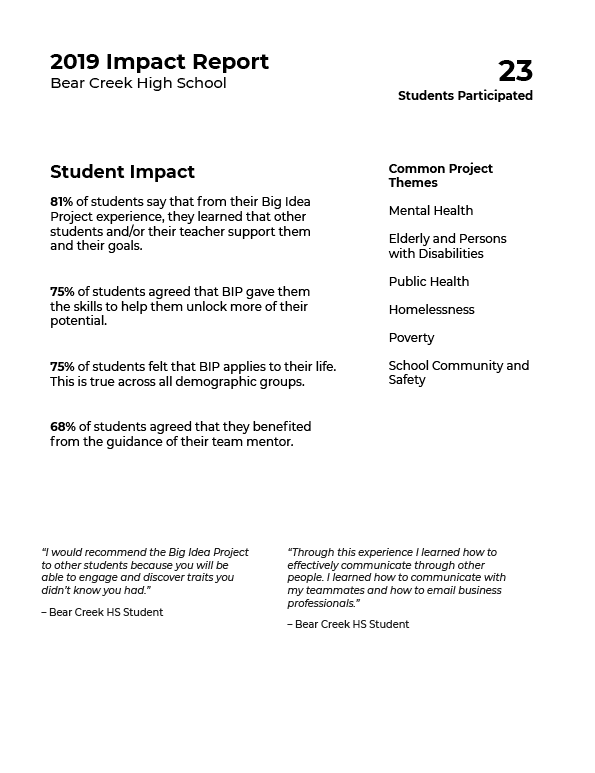
#2: Structure the content
After adding all the content, I give it some structure. I make the headlines bigger and bolder and create a heading hierarchy. I format the text to make it more readable. I add columns into the content, and put chunks of content where I’d like them to (maybe) end up. At the end of this step, the design looks like a nice text document. See an example below:
#3: Add some basic section colors and placeholders
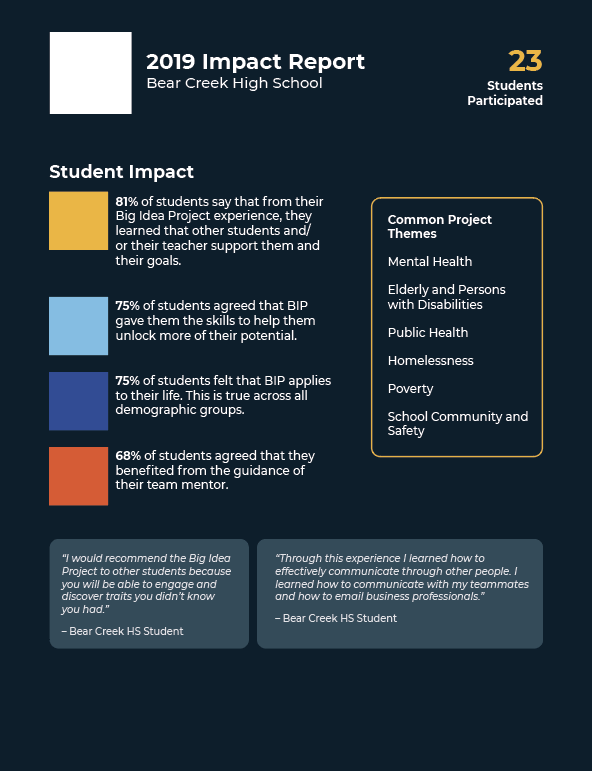
Then, I start brainstorming where I would like basic sections of color and images. I put in placeholder images and color blocks just to segment the content further and try out basic ideas for layout. I don’t spend too much time making sure I have the perfect image, and I don’t add too many design details like borders, shadows, or gradients.
At the end of this step, my design looks much closer to a finished product – just lacking some personality and the little design details that make a finished design look its best. Take a look at the example design at this stage below:
#4: Design like crazy! The blank screen is GONE!
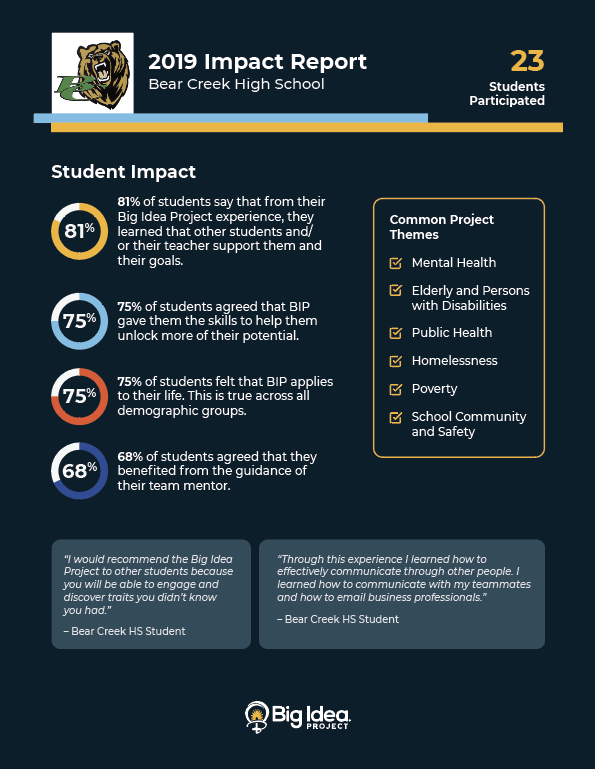
From here, I have a great starting point for playing with more subtle design challenges and details. In short, I just start designing like crazy, until I have a first draft I’m happy with.
I use this process for both graphic design and web design projects. It helps so much to get over the blank screen anxiety I often have. Below is the final design from the examples I’ve given. Good luck, and enjoy the process!